Saturday, May 26, 2018

A 'patent washable' doll

 This type of doll is sometimes referred to as a 'patent washable' doll. They were made in the 1880-1915 period and have a cloth body with papier mache head and limbs.
Most of the problems that plague this type of doll are about to be seen here....


The area around the eye is prone to damage.
Her one eye socket is chipped and the other......well the whole eye is gone.
Something is rattling around inside the head. I hope that is the missing eye!


The cloth used for these bodies is typically a very thin cotton prone to fraying and ripping.
The arm cloth on this doll is almost non-existent. Actually her whole right arm is non-existent.


This particular doll has an interesting hole in it's side leading into a cardboard tube. I sense I am going to be finding some sort of mechanism inside.


The lower legs were being held on only by socks that were pinned to the upper legs. At least the lower legs are still present.


The back of the doll's head looks quite damaged under all that cloth and string.


Sure enough......lots of damage was being covered up by that cloth.
Happily the missing eye was inside the head!

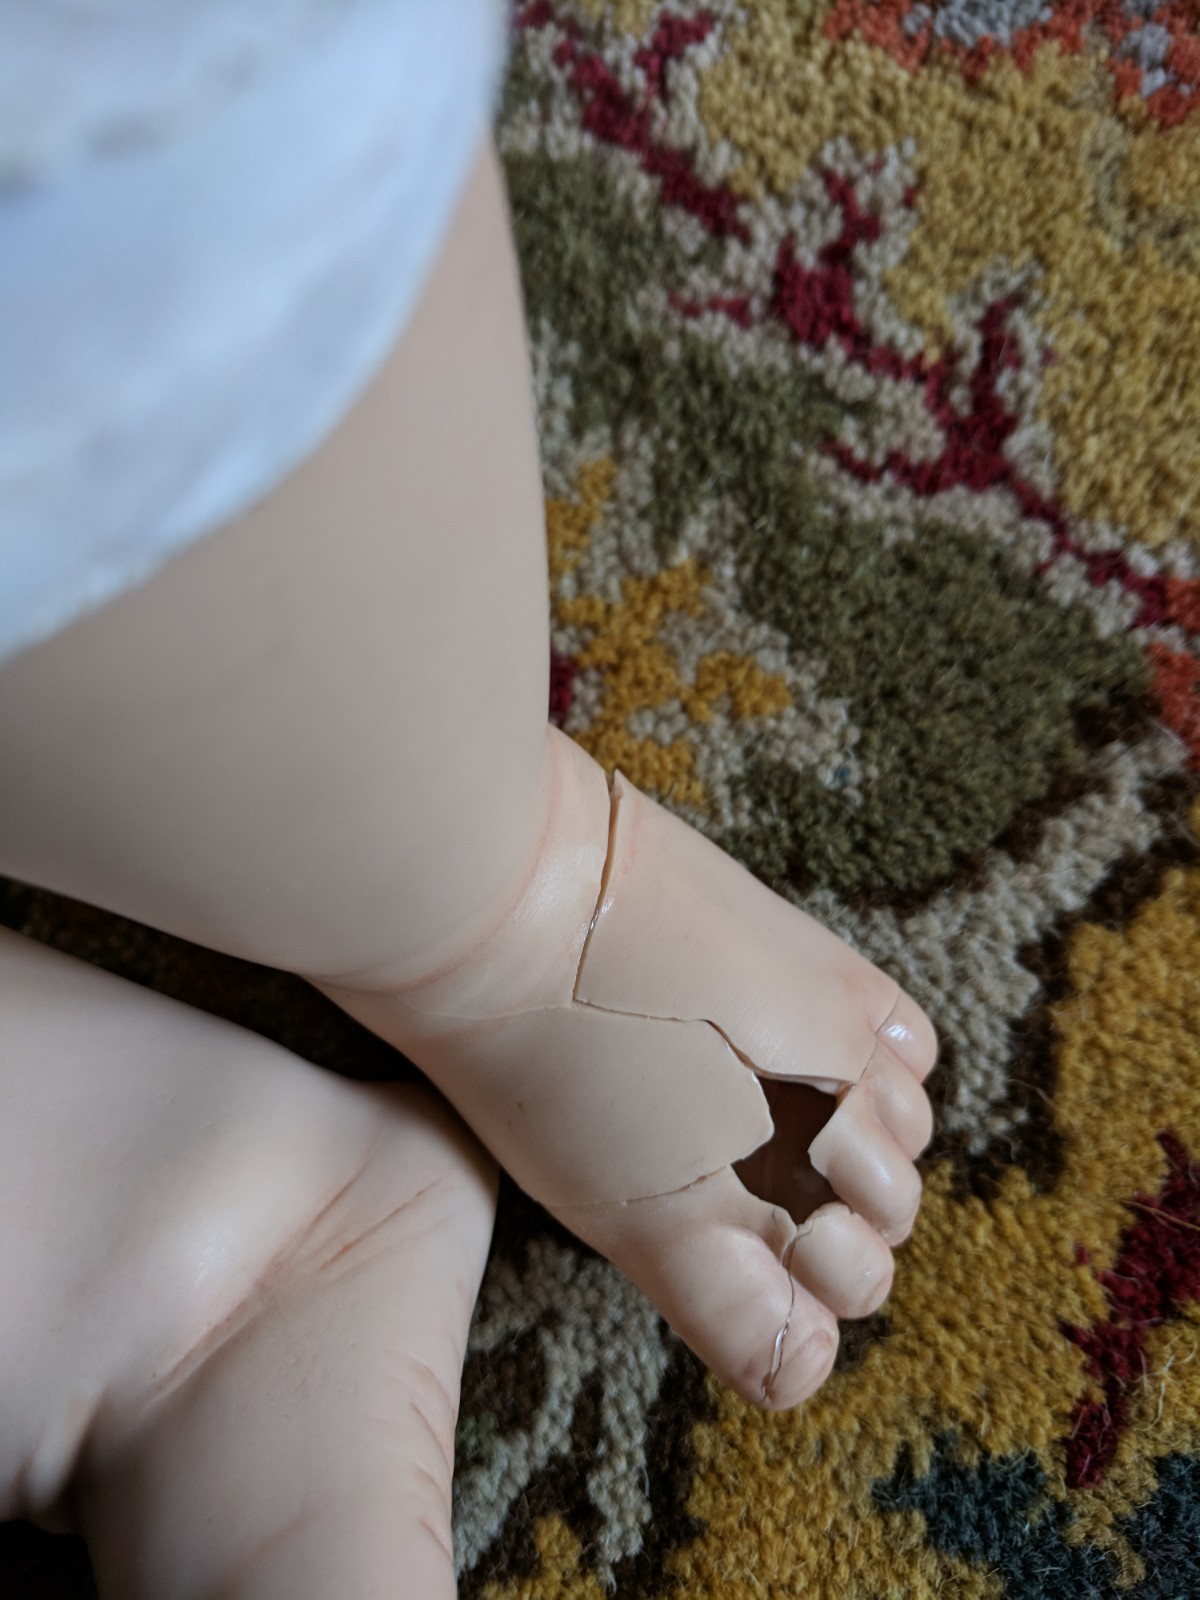
This papier mache is quite thin and is obviously easily damaged.


Further disassembly finds the mysterious mechanism that the hole led to.
The doll once had 2 strings coming out of that hole. Pulling the strings operated a bellows type mechanism to produce a sound.


This is what was considered hi-tech at the turn of the 20th century!


The head is making progress in that the pieces are back together.
Now on to disguising the scars.....


So far she has gotten her voicebox repaired and re-installed, her feet mended and re-attached. Her replacement right arm is taking shape too.


Disguising the scars involves spraying sealer....which should  not get onto the glass eyes.
And, this doll's hair is not removable without destroying it.
So, she gets a head-wrap to protect her hair and lovely blue goggles to protect her eyes.


Her current backside view.


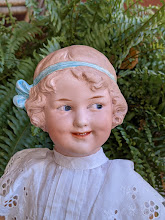
She is now cleaned up and her scars are disguised.

Next is contemplating what to do with her hair. It is mohair and original to her so it would be nice to keep it.

This type of wig is sometimes called a 'topknot' wig. It was made by stuffing a handful of mohair into a hole on the top of the head. The mohair was then spread around the head, glued down and styled. This type of wig is very prone to losing mohair and often end up looking sparse and straggly.

I could resort to what many folks do on a bad hair day.....put on a hat.
Or, maybe extensions would work? I install several extensions by gluing in multiple small clumps of a similar coloured mohair.


Then she goes off to the doll hair salon.


Here is one of her arms getting stuffed.

The piece of cloth someone had used to hold her head pieces on was big enough to make new upper arms. And, it was the same style of antique cotton.

The stuffing is excelsior, or wood wool. This was a common stuffing used in the era this doll was made. The body and legs are stuffed with excelsior so the arms, ideally should be too.


All back together and waiting for her clothes....


Saturday, May 19, 2018

A very well loved bear gets some repairs.

This is 'Pookey'.
He is one of the most well loved bears I have ever met.
He has arrived for a few repairs.
He has had multiple holes stitched up over his years and his stuffing is compacted all over.


 Pookey's main problem is that his eyes are tearing through his fur fabric. These are safety eyes and the two parts need to be separated to patch his fur properly.


Here is Pookey unstuffed, eyes out and ready to be patched.
His stuffing has been re-fluffed from it's ultra-compacted state.


Here is Pookey ready to go home.
He has been patched, darned, re-fluffed and even had his smile touched up.
He still looks like a very well-loved bear but there is a limit to what his aging fur was going to be able to withstand!

Friday, May 18, 2018

Broken bisque foot

 Here we have another modern bisque doll.
She has arrived to get her one foot restored.

 Her foot has been broken in several pieces and then pieced back together with construction adhesive.


This was not the best glue job....the edges are not well matched.
But trying to dissolve the glue would be harder on the doll than working with it's current state so....
I start by gluing in some metal mesh for a base for the missing bisque.


Then some epoxy compound over the mesh.


This is after many layers of epoxy putty with sanding in between each.
It is off to the paint booth next.


A couple layers of paint and now I can see where the contouring can be improved.
Back to the epoxy putty now just to tweak a few areas.


I have tweaked the contours of the foot with epoxy putty but arghh...... just as I start the last layer of paint....my compressor for my airbrush malfunctions :-P
It is leaking air. Time to study compressor repairs.......

The compressor is toast! It will be cheaper to buy a new one than to buy parts.
But I coaxed one last spray out of it, then did some hand painted shading and:


We have a finished foot!


The doll should look a bit happier now her foot is mended?


That is a rather expressive face!


Tuesday, May 15, 2018

Repairing and restringing a Gebruder Heubach doll

This is a larger sized Gebruder Heubach character. He needs to be restrung.
His head is perfect and his body is in pretty good shape.
There are a few issues with the body that I will fix before restringing him.


The top of his torso  has lost parts of the outer gesso and paint. This is not a structural problem but repairing the defects will strengthen the neck socket a bit and it will look better.


His limbs have minor losses of the gesso and paint.
His hands have had at least 2 fingers rebuilt and they have been totally repainted. The repaint is too glossy and bumpy and is starting to chip off.
So I will remove the repaint and touch up the rebuilt fingers to match the original finish......if I can salvage the original finish.


Here are the body parts ready to assemble. The neck and other chipped areas have been filled and painted to match the original finish.
The hands did retain the original finish under the overpaint.....including fingernail markings. The  three rebuilt fingers were tweaked a bit and then repainted.


Stringing complete.


A nice outfit and he is ready to go.