Tuesday, March 31, 2020

Eye problems of a hard plastic doll

This doll was made by "Pedigree", an English company. It likely dates from the 1950's.
It has an eye issue to sort out.


In humans, this drooping eyelid is called ptosis and is often caused by nerve damage.
But what causes it in dolls?

This doll has interesting eyes in that they open and close and move side to side.


After the usual "off with her head" start to doll repairs, I can see the eye mechanism.
Someone has tried a repair previously. There is old yellowed glue on the dysfunctional eye.
What is worse is that the bracket that holds the eye in and that is supposed to slide out to release the eyes has been solidly glued back in place.


Here is the good eye showing the pivot that allows the eyes to move side to side.


Here is the dysfunctional eye.
The lower pivot is broken off and the eyelid no longer coordinates with the eyeball.


After several failed removal attempts and much grumbling about the person who glued the eye bracket in......success! The eyes are out.
Now to recreate a pivot....


Here are the eyes ready to go back in.
They have new eyelashes and a spruced up paint job on the lids.
The new pivot can be seen on the right.

Keener eyes than mine might notice a problem here?
The eye with the broken pivot was the doll's right eye. Here the repaired pivot will be on the doll's left eye.
I installed the eyes like this and only noticed I had flipped the eyes when I was poking around wondering why they weren't fitting on properly :-)


After a bit of fussing over the eye fit and a refresh on the mouth paint.....she is done.


Monday, February 24, 2020

Mattel voice box repair

Well, I have been asked by several folks about repairing pull string talkers so I decided I needed to try my hand at one.

"Drowsy" is my experimental patient.
 She dates to the early 1960's and is supposed to say several phrases when you pull her string.


Like many talking dolls of this era, Drowsy's voice is silent.


All these toys have a seam that needs to be picked apart to access the voice box.
Drowsy's seam is in her.....well... in her derriere.


The first sighting of the dysfunctional item.


Out comes the voice box.


It's other side.


After some careful sawing along the seam that was well glued shut, the insides are visible.

The majority of silent voiceboxes have a broken or melted o-ring which is supposed to act as a drive belt between all the bits. This one's o-ring had disintegrated.

A new o-ring gets placed,the voicebox is taped back together and stuffed back into Drowsy.

Drowsy talks again!
Here is how she sounds:


Tuesday, January 7, 2020

Toy piano repair

This is a cute little Schoenhut toy piano from the 1890's or so. The Schoenhut company made piano's from the 1870's to the present day.
This style of piano works with a xylophone type mechanism.
This particular piano was fully operational before it got mailed.
It was not properly wrapped for shipping and the postal system was not gentle to it's box.


The innards flapped around during shipping and were in quite the state on arrival.


One chime had lost its nail and was askew.
One hammer had torn from its mount. Several other hammers had partially torn.


With a few nails gently pulled out, the whole glockenspiel type mechanism can be removed for repairs.


The hammers are simply made with pieces of cardboard covered with cloth and stapled to the underside  of the chime board. The hinges then are just cloth. Wooden knobs are glued to the one side of each flapper to strike the chimes.


 Here is the detached hammer. The top cloth tab had ripped off at the hinge area.


 Here is the hammer repaired. I have used an antique cotton of a similar weave to recreate the top tab.

Many other hammers have partially ripped at the hinge area so I will replace all the damaged hinges in the same way.


Here all of the damaged hammers have been replaced.
The hammer on the right was not damaged but it had an old repair where someone replaced the wooden knob with a square chunk of wood and then glued the tab back instead of stapling it.
I might as well revise this before I put the piano back together.


Here is the previously repaired hammer. It worked but doesn't look like the original.


Here it is with a knob carved from a vintage wooded clothes peg and a rebuilt cloth tab.


Success!
All the hammers have been repaired.


While I was at the repairs to the hammers, I decided the torn harp and leaf logo should be repaired too.
And then, why not replace the cloth inserts on either side? The piano arrived with bright red synthetic cloth inserts. Those were not original.
So they got replaced with antique velvet inserts. A bit more suited to the age of the piano.....


Tuesday, October 8, 2019

Celluloid doll repair


This is a very large celluloid doll who has arrived to get it's arm fixed.


The inside of the arm that holds the elastic has broken out.


This is the other arm showing how the broken area used to look.
Recreating this in the broken arm will take some inventiveness!


After plan #1 with a metal washer was not working out, I have arrived at plan #2.
This involves using the bottom cut out of a plastic bottle with a hole drilled into it, a plastic washer from the hardware store and the toggle that the previous handy-person had used on the doll.


The altered bottle bottom gets epoxied into the arm.


Once the epoxy adhesive is cured, epoxy sculpting clay can reshape the socket.


The toggle and washer get put back on to the end of the elastic and then, with breath held, The elastic knot and toggle get stuffed into the new socket.

It worked!


Monday, October 7, 2019

Restringing a Gotz doll

This is a Gotz doll who has arrived for re-stringing.


Her elastic has lost it's sprung and she is very floppy.


Here is the elastic as it goes into her head.


And here is the elastic as it goes into one of her limbs.


Once you heat the area with a hairdryer to soften the plastic it is easier to extract the bits.
The limb insert looks like this once extracted.


And the head bits look like this.


Here she is deconstructed.
She has new elastic in place ready to attach her head and legs.


All done and hair combed.


Tuesday, October 1, 2019

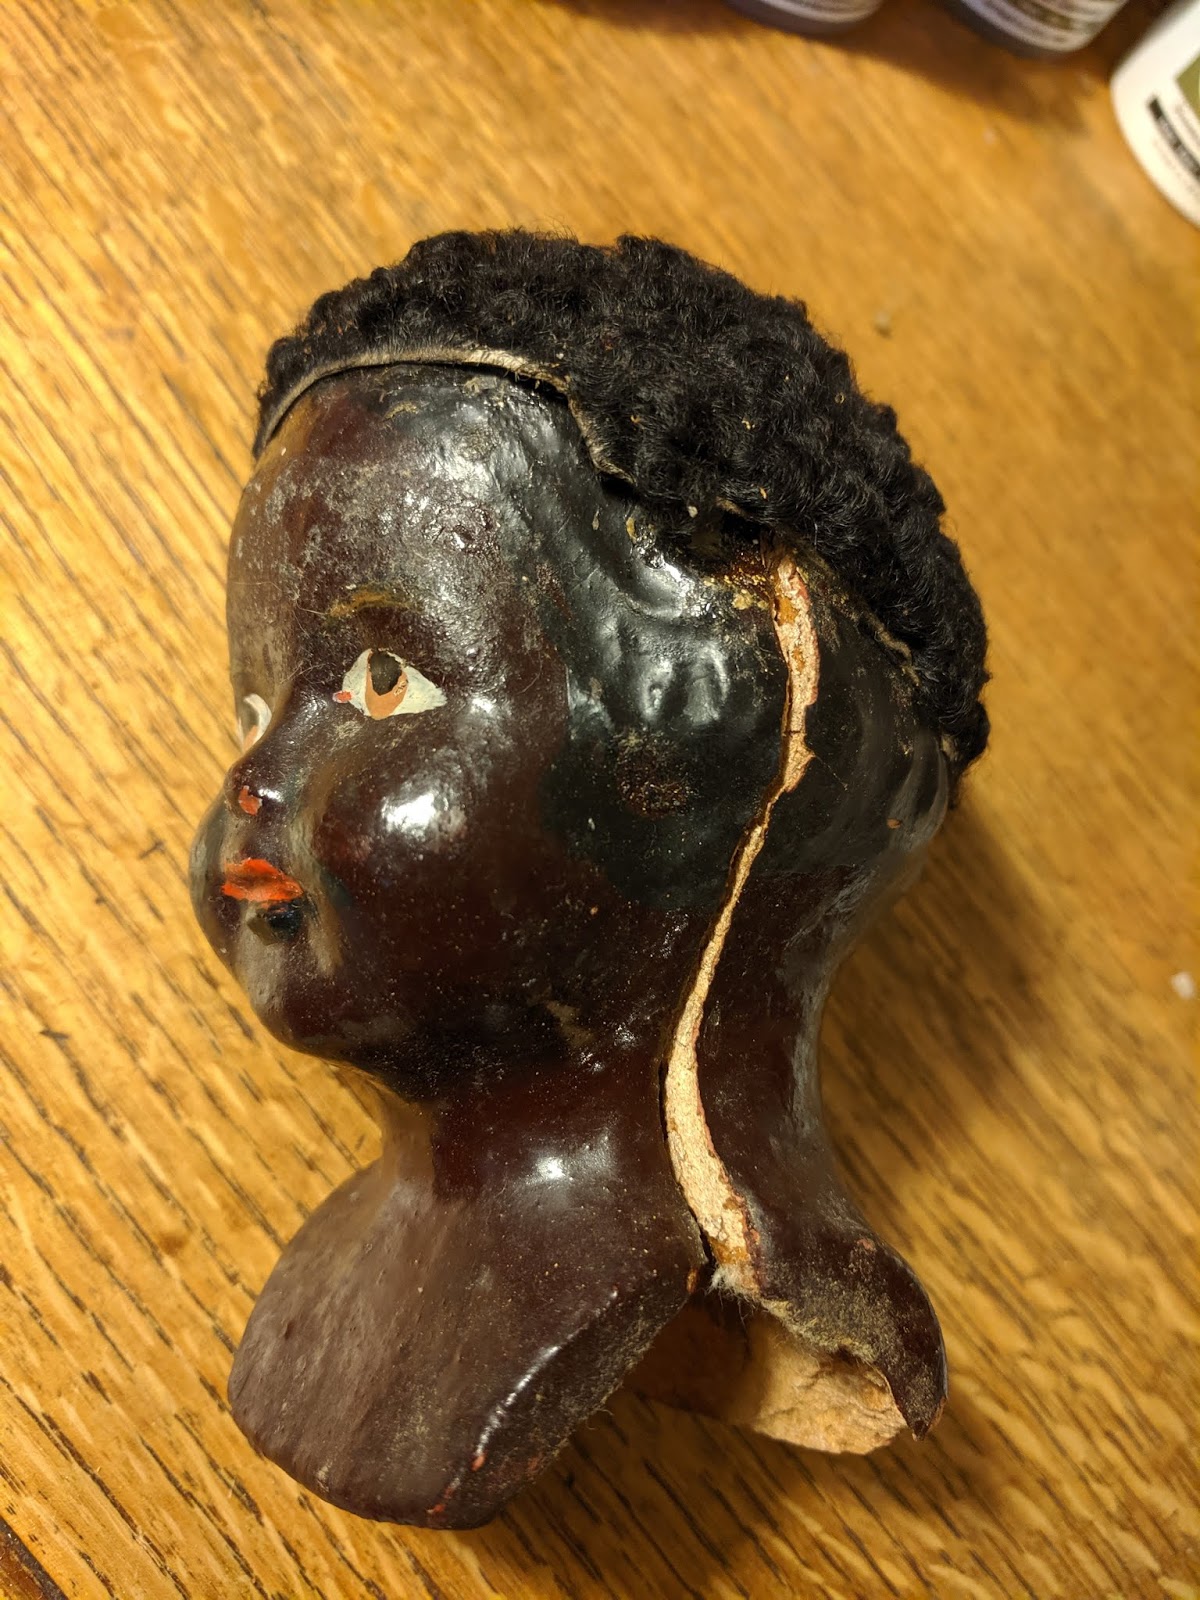
An unusual early composition doll

This doll arrived in a ziplock bag.
He is leaking sawdust from many areas.


He has an interesting composition head on a cloth body with composition lower arms.

He is likely from the early 1900's.


He has a sheepskin wig glued over molded and painted hair. The wig looks original to him.

His head is split up both sides.

I don't want to remove the wig as it is solidly glued and old sheepskin is fragile.  So I shall have to fix his head while working around the wig.


Wood glue gets injected into the cracked head seam and he gets clamped.


Then epoxy putty is used to fill in crevices and mold a replacement corner of his shoulderplate that was missing.


The repaired seams get painted to blend in with the existing finish.


It is hard to see in the photos but he has original black features painted around his mouth and nose. Were they meant to depict facial hair?


The cloth of his original body was shredding so he has a new body covering. His original sawdust was saved and put back.


Then he gets an outfit made of antique and vintage fabrics.