Thursday, June 20, 2024

A massive skull defect!


This doll has arrived for repairs.

She doesn't look too bad from this angle.

That is a lovely factory original dress she is wearing.


Her big problem is that a large chunk of her head is missing.


Her arms are peeling a bit.


The cloth above each arm has issues.


How do you close a massive skull defect like this?

I make a base from automotive repair mesh and epoxy it into place. Then I start rebuilding on top of the mesh.

Here we see the metal mesh installed in the head.. The grey is the epoxy paste that I used to glue it into the head. The beige is another type of epoxy paste that I am using like a spackle to cover the mesh.


I extract her voicebox from her torso to see if I can get it working again.
Her body has the typical stuffing of the era. That is excelsior or woodwool.


This is the usual problem.....the bellows fabric has dried out and is full of holes.


I remove the arms to make it easier to fill and paint them.


Here the head has had quite a bit of filling. the grey primer helps identify areas that need more sanding or filling.


After the contours meet my approval she gets painted. She now looks like this:


Monday, March 4, 2024

Schoenhut before and after pictures


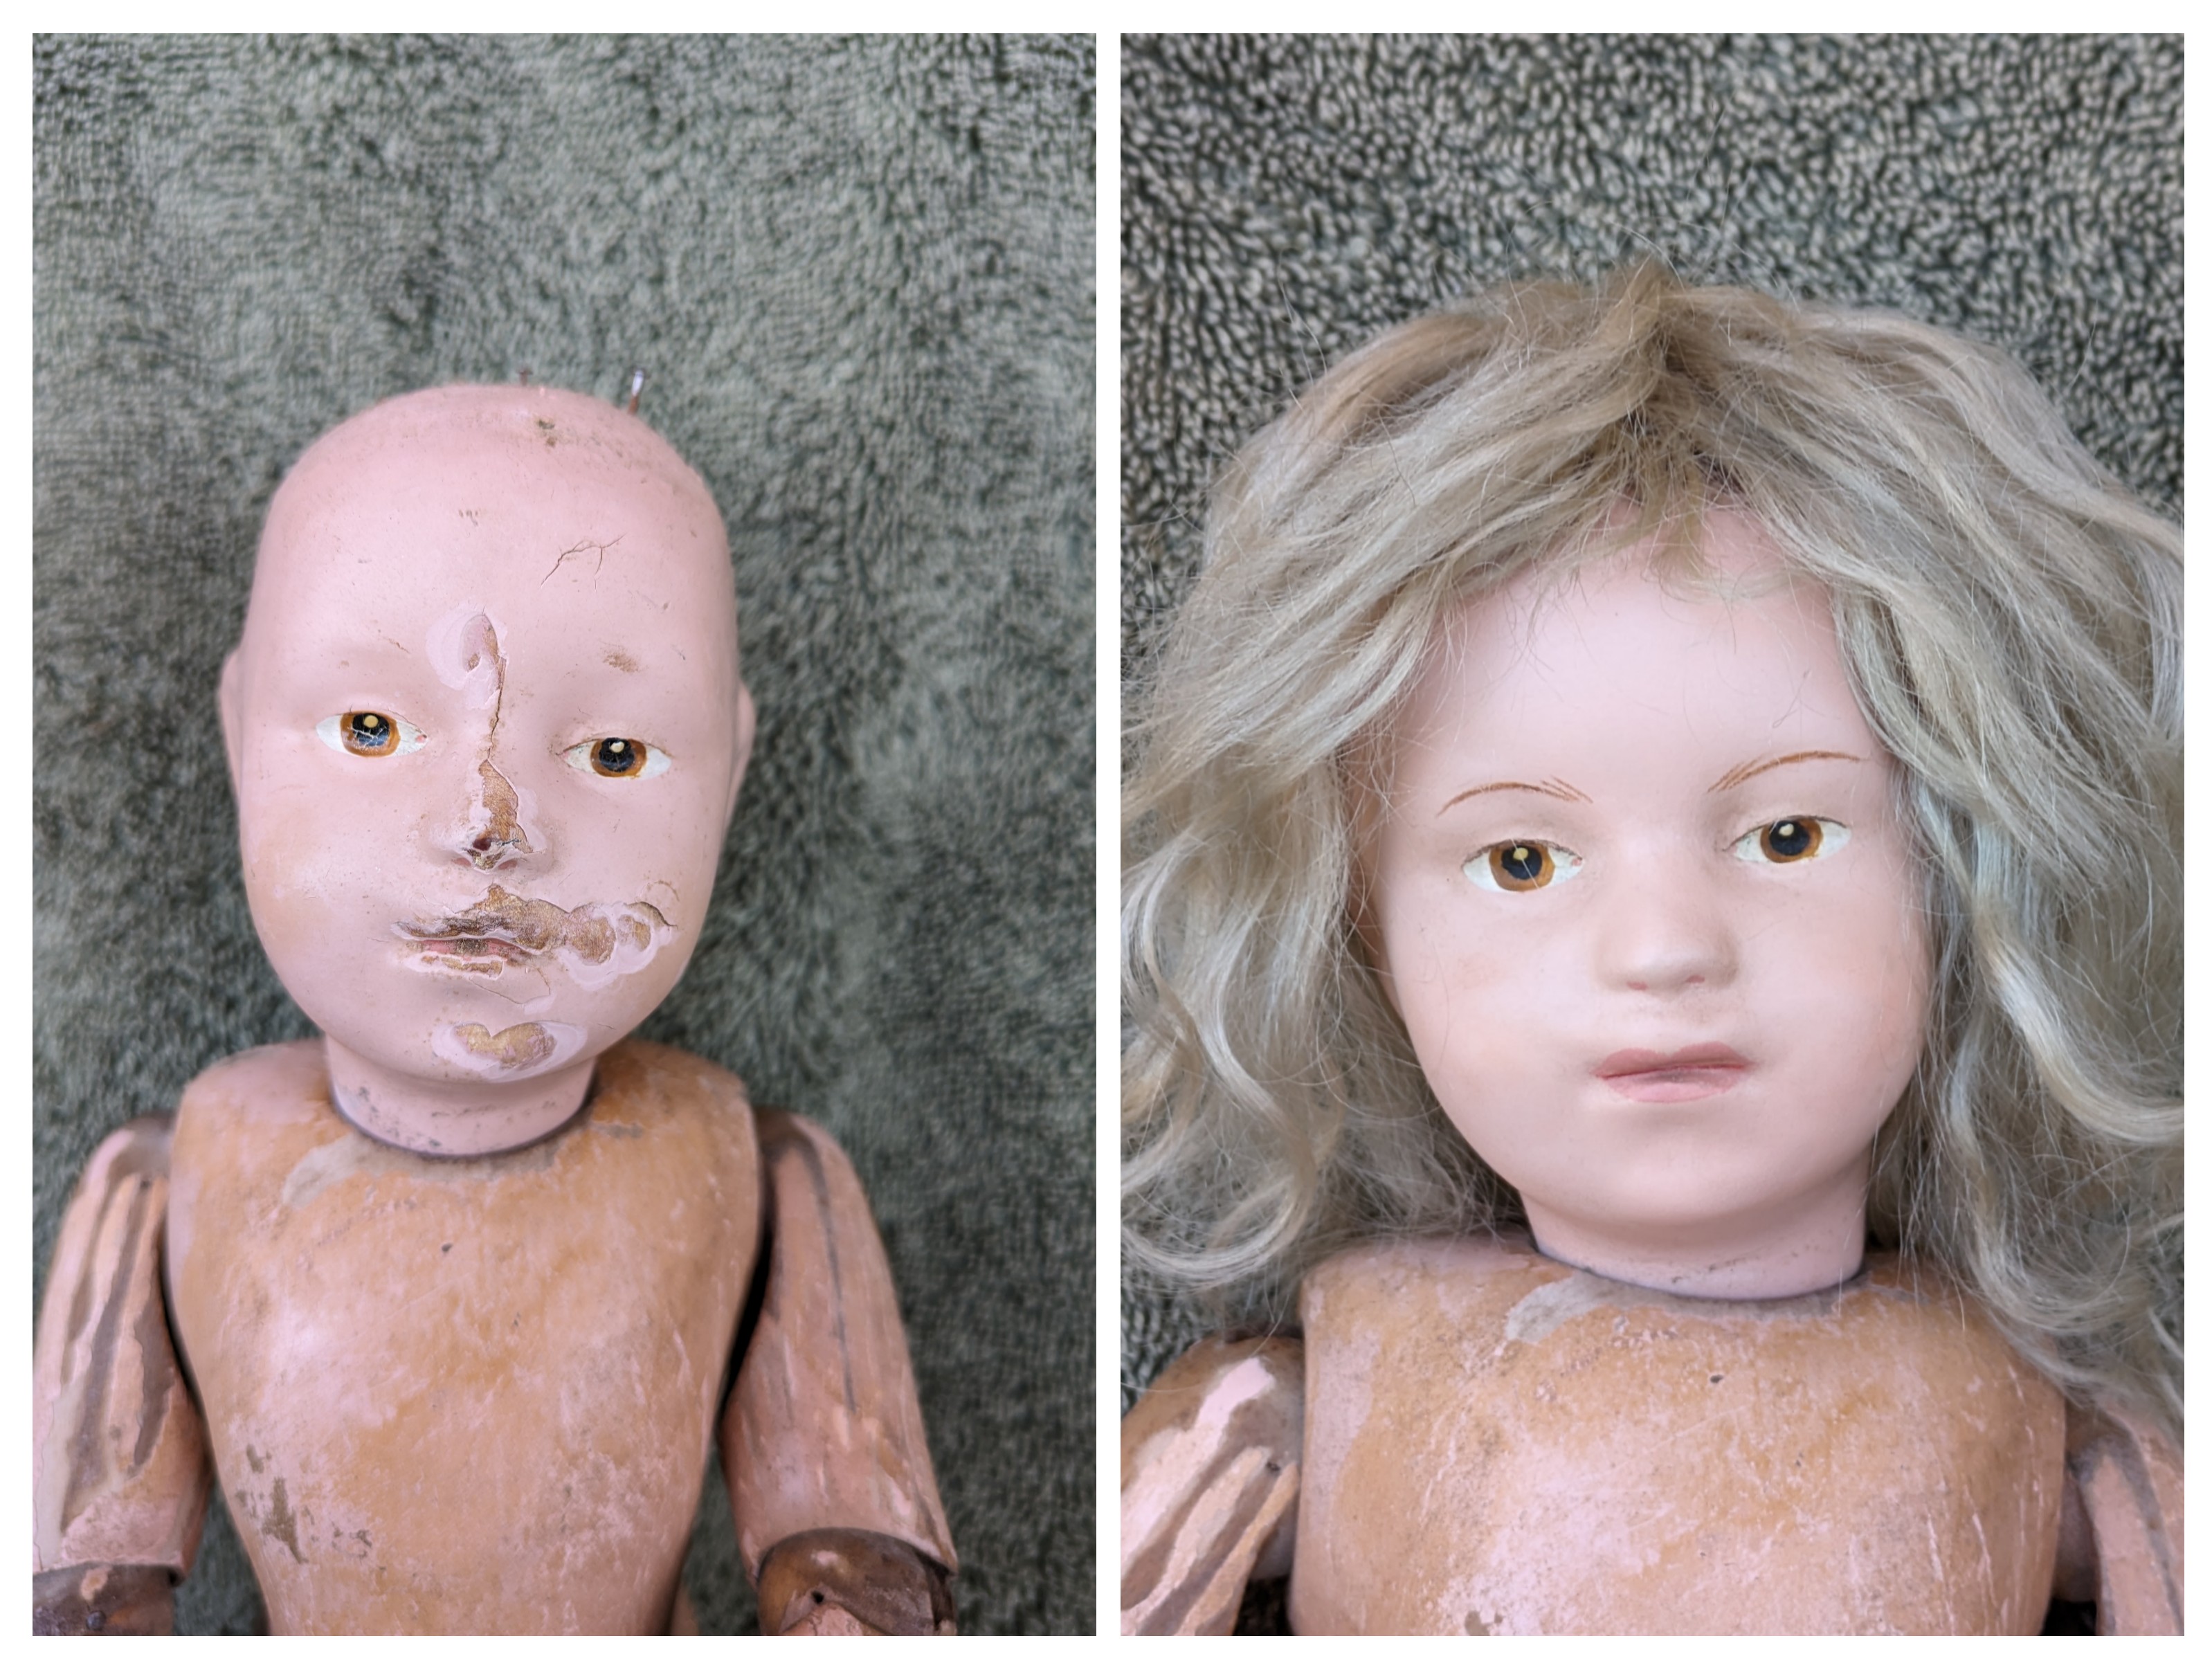
16" bonnet head. Restoration to face only.


16" model #302. Restoration to face. Needs a wig next.


A 14" bonnet head doll got some facial work....


and some touchups to her bonnet. 


This 14" is model 313. She has smooth eyes instead of the more common intaglio eyes.


This is a 14" 308 model.
This is model 103


This carved hair girl just wanted a bit more colour.


This is a 21" sleep-eyed Miss Dolly.


This is model 204


 This is Schoenhut's manikin. He had some touch ups that stood out a bit too much (left picture).
The touchups were removed (top right picture).
Then he got new touch ups to blend in better (bottom right picture).


This larger Schoenhut doll got several touch ups.


This 14" Schoenhut girl got touch ups.


Again, more touch ups.


Thursday, February 22, 2024

Mohair monkey repairs


This handsome dude is a 'yes-no' monkey made by the German company Schuco. He dates to the 1920's or 30's.


When you manoever his tail his head will nod 'yes' or shake 'no'.


But, his tail has lost its mohair covering and there is a rip in the mohair above the tail.


He has a tear in his mohair behind his ear.

The tears are no problem to repair.


I want to get some new mohair to cover the bare wire of his tail and finding this colour of mohair will be tricky. It is a lovely cinnamon colour.


In a local thrift shop I find some mohair fabric ends. At $1.50 for each, this sure beats ordering mohair online! Now I have to try to dye this mohair a cinnamon colour.


This is the first attempt. I dyed a piece of each mohair plus a bit of muslin for repairing those tears. Not bad....but the mohair needs to have a bit more red in it to match.


This second dye attempt looks better.


To fix that big mohair tear, I insert a piece of the dyed muslin under the tear. That will get tacked to the mohair to strengthen the repair before I start darning the tear.


The tear has been secured. Now he needs a replacement tail made from the dyed mohair.


Tuesday, February 13, 2024

A Schoenhut girl's makeover


This is Schoenhut's model 203. She was bought like this hoping to find something good under all that too-shiny repaint.


Her new owner stripped off the repaint and found this.


Not too much goodness was found under that paint so she was sent to me.


After the usual makeover processes, I sent her home looking like this.


Thursday, January 4, 2024

A Schoenhut boy's repaint


This is model #201.

He has had an interesting life.


He has very dark hair that is not original.

There is evidence all over his face and body that indicates he was once painted in a dark brown skin tone. That skin colour had long been removed (mostly).

The plan is to improve his appearance somehow.

Seeing as the dark hair is not original, it gets removed.


Pretty well zero original hair paint underneath! And an interesting crack.

He will need more than a few touchups. Repaint looks best when it is done after any unoriginal layers are removed. The vestiges of previous fillers and repaint obscure carved details and also make it harder for the new paint to adhere.

So, I start gently scraping off and digging out all that old dark brown paint and any other paint that had been added over the years.


He actually has a few scraps of original facial paint left. And, he has his original blue eyes under the brown.


After he is down to original paint and/or bare wood he gets sealed. Then starts the repainting process. He will need multiple thin layers of flesh paint.


A few layers later he looks like this. A couple friends are also getting some new paint.


Some time later he starts getting some hair and eye colour. I am also trying out some antiquing methods for his face.


This is his final look.

He looks paler in the picture due to AI working automatically on my cell phone pictures. I need to find a more accurately coloured picture of him!