Friday, September 2, 2022

Holy moly! A wax over composition doll now!


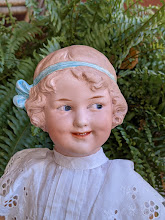
This is a very large wax over composition doll. She dates to about the 1860's or 70's.

She has arrived because she did a face plant and has an obvious injury.

She has an interesting history of previous trauma and repairs.


Many years ago she was thrown around during a robbery and was quite damaged. She had extensive repairs done in the 1970's. The darker yellow just below her headband is a repair compound that was used then.


To repair her current injury, a mesh base gets epoxied under the hole.


Then the mesh can be covered with epoxy clay to rebuild the hole and replicate the missing contours.


Then, once the cured epoxy is painted to blend in, it gets waxed.

Not perfect but the gaping hole is gone.


Now the old repair gets addressed. Can it be modified to blend in better?


Off comes the repaint to reveal how the previous repair was done. There seems to have been a large hole that was dealt with in a similar fashion to how I dealt with the forehead hole. This person used plaster as the repair compound. So I am going to recontour the plaster a bit then add a layer of epoxy clay to sculpt the hair details.


A bit of paint and then some wax over the epoxy help blend it in to the original surfaces.


Monday, August 22, 2022

German bisque head refreshing and restringing


This little doll needs to be put back together.


Some previous DIY work involved stringing her with wire?


The previous work included glueing back one knee socket at the wrong rotation.

There are also no hooks in the lower legs. This style of stringing was a cheap/fast way for the factory to make the doll but made no allowances for future restringing. I will install hooks so that when the elastic I use fails many years down the road, the next doll doctor will have an easier job.


This is another feature of a cheap factory assembly. Elastic was glued into the lower legs and then that was pulled up by wires that hooked over the back of the head. I will make this head mount easier for future doll docs by switching it to a neck plug and hook.


Disassembled.


The wig is quite the matted mess of mohair. But it is salvageable with some time spent combing it out. The best way to comb out mohair is with a single needle. A comb will pull out too much mohair.


After the comb out.
Straws work well as curlers for small doll wigs.


Back together.


And dressed.


Saturday, August 20, 2022

An unusual 1950's walking doll


This hard plastic walking doll was made in the 1950's. She suffers from degeneration of her plastic and the most noticable symptom is that her right hand has crumbled and fallen off.


What is unusual about her is that she was constructed to walk beside a carriage. The plastic around the bits that connect her to the carriage has warped and split.


The metal bar comes from the carriage.
The doll's plastic body has warped enough that the connecting rods no longer align.


This is an ad from 1956 showing an identical doll.


After realigning the connection points, the crack is filled and everything is recontoured with epoxy putty. Then the repair is diguised with a bit of paint.


Everything fits!


Which means she can get hooked up to her carriage again. The clothes are her original ones.


Wednesday, August 10, 2022

A wee little composition doll


 This little doll needs help!


Perhaps she had some moisture damage?
Her paint is shot. Fortunately her composition base looks to be in good shape.


Here she is part way through her restoration.
All the chipped and peeling paint has been removed. Her limbs have started the filling and priming process.


Done.

Composition doll full restoration


This doll is to have a full restoration.

She has had repairs in the past including rebuilding of her feet, repainting of the body and even a new head!


Her head is marked 'RELIABLE' and her body is marked 'PULLAN'.

The head and body colour do not match. The face colour looks original but the pinker body colour may not be. Her hair has had some extra dark paint applied.

If you look at her body in this picture, you can see the paint/gesso is lumpy and pitted. To make her look her best all the chipped and aged layers need to come off or get sanded smooth. The skin tone paint and the white gesso underneath tested stronly for lead. So, another outdoor job with mask on!


Many days later she can finally start the rebuilding and resurfacing process. The white layer under the paint on the body was particularily tenacious!


While her body gets worked on her eyes get a cleaning and new eyelashes.


Getting there.......


Sunday, July 31, 2022

Vinyl doll arm reattaching


 This is 'Boston'. A beloved baby doll whose arms are coming off.


One arm had been sewn back on using a colourful ribbon. That works but this style of arm should get secured to the body from inside.


So, off with her head.

This reveals that she is filled with chipped foam stuffing. This should get replaced by new polyester stuffing as foam does nasty stuff as it ages.


Emptied of foam, she is ready for a bath.
This foam was starting to degenerate and had become quite powdery.

Her body fabric is very sturdy and has no rips so it will get used again once it has had a cleaning.


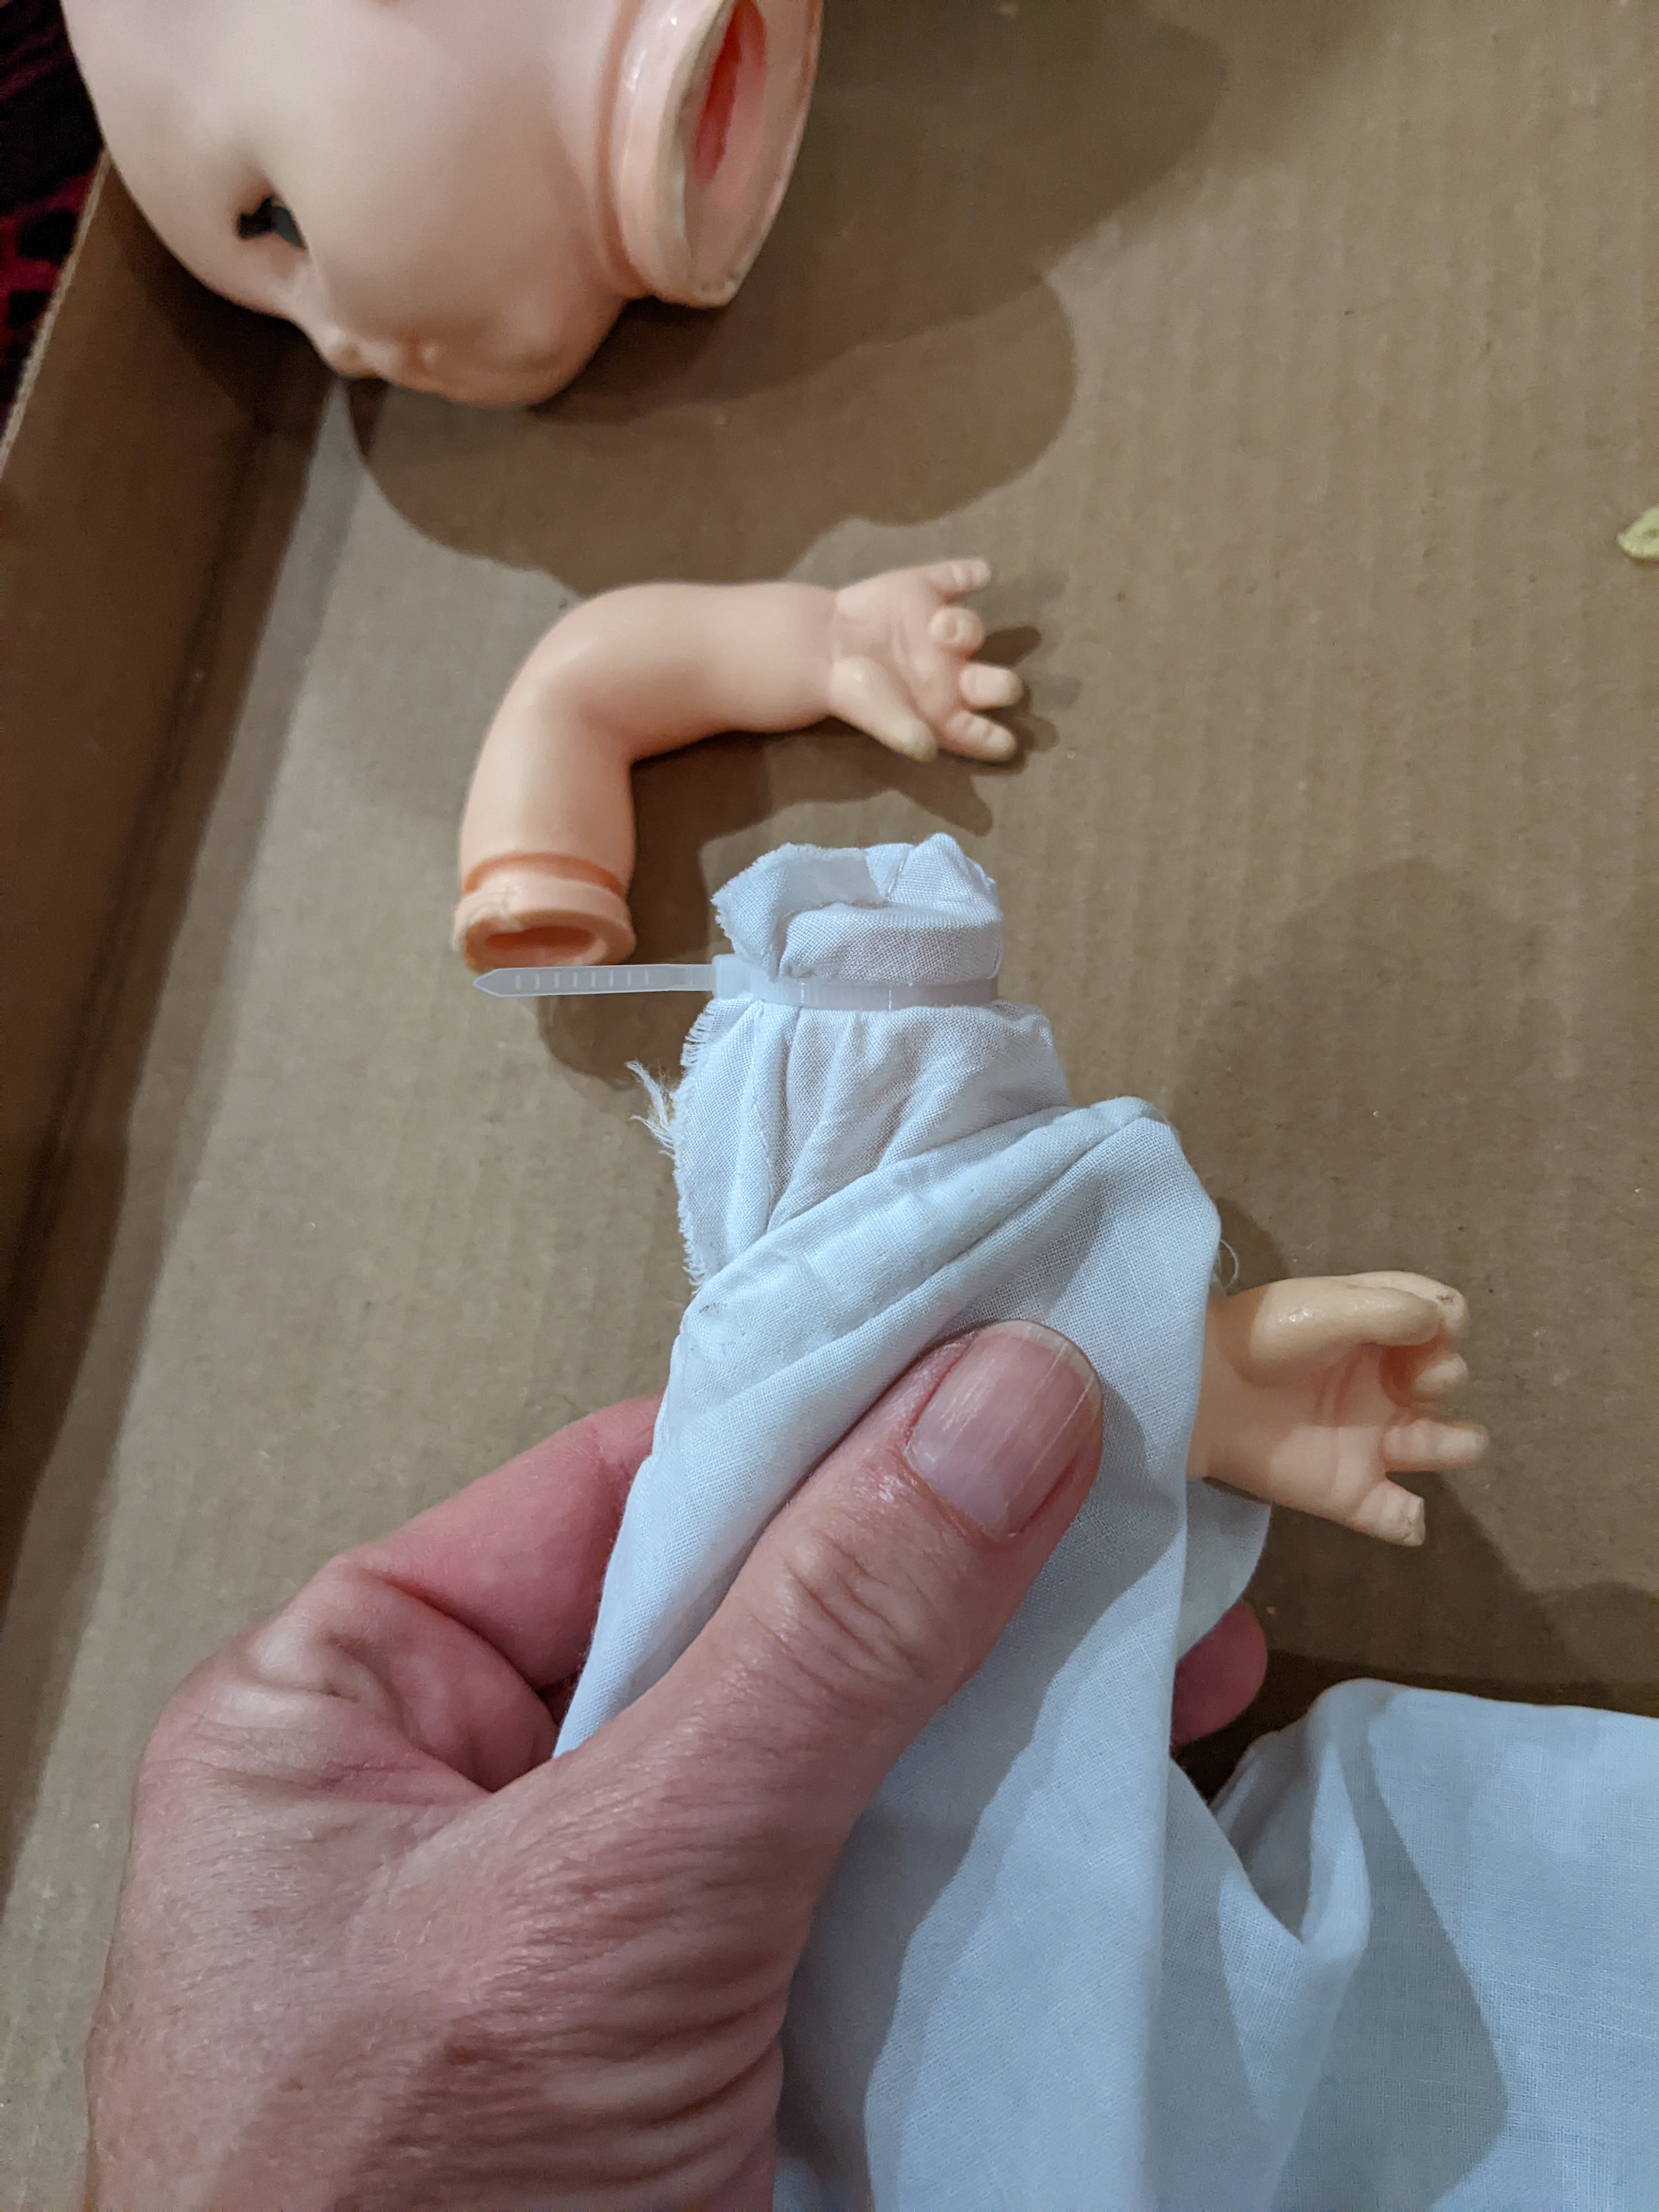
Here is one way of installing the arms. 
A cable tie inside the body secures the body fabric into the groove of the upper arm. The cable tie end will get trimmed.


Both arms are installed with cable ties, she gets stuffed and then her head is secured by another cable tie.

She is ready to go home.


Sunday, July 17, 2022

Glass sleep eyes


This very large doll is in pieces but her main issue is her lack of eyes.


These are her original eyes. 

Unfortunately the iris part of the broken eye is missing. If it was still present the eyeball could be pieced back together.

She will look her best with new glass eyeballs.


Her owner has sourced out blown glass eyeballs of the right size.
Hopefully I can get them mounted on the original eye rocker.


First, the remains of the old eyes get removed from the rocker.


Then I try a dry run with the new eyeballs and old rocker inside the head.
So far, so good.


The eyes have been glued into the rocker and some eyelashes have been applied.
Next the missing plaster eyelids need to be recreated.


Some things just do not go well!
The plaster eyelids got applied by dipping the whole eye rocker in freshly mixed plaster. That made the eyelashes fall off.
To add to that, as I was contemplating how to reinstall the eyelashes, I heard a 'pop'. The left eyeball just cracked!!!
Plaster of Paris as it cures and sets into a solid gives off a wee bit of heat. Could that have cracked the vintage glass? There was no obvious trauma to the glass.
Now what?


The glass pieces stayed together after cracking so I consolidated them and coated them with a water thin cyanoacrylate adhesive. That seemed to work so I reapplied the eyelashes and waxed the eyelids. The cracked eyeball survived all that so now we have this. An intact eye rocker!


The old eye plasters did not fit the new eyes' contours so new plaster mounts were made.


Once I pull her body out of the box I find another issue. Her neck socket is cracked and needs to be reinforced before she gets restrung. There will be a large anount of pressure on this socket from the stringing elastic. If it gets strung as is the neck socket will finish caving in.


After lots of glue is applied around the outside and inside of the neck socket, the missing areas can be rebuilt with epoxy putty.


Then the repaired area gets disguised with paint.


The rest of her body is fine so she can get put back together.
At 36" tall, she is an impressive doll!